A while back I posted
a mini-tute for making a hardback cover for an e-reader. I am just now getting around to making myself a new cover, just so I'll have a change, and I went ahead and took photos of the process. So this is a better tute with more photos and instructions.
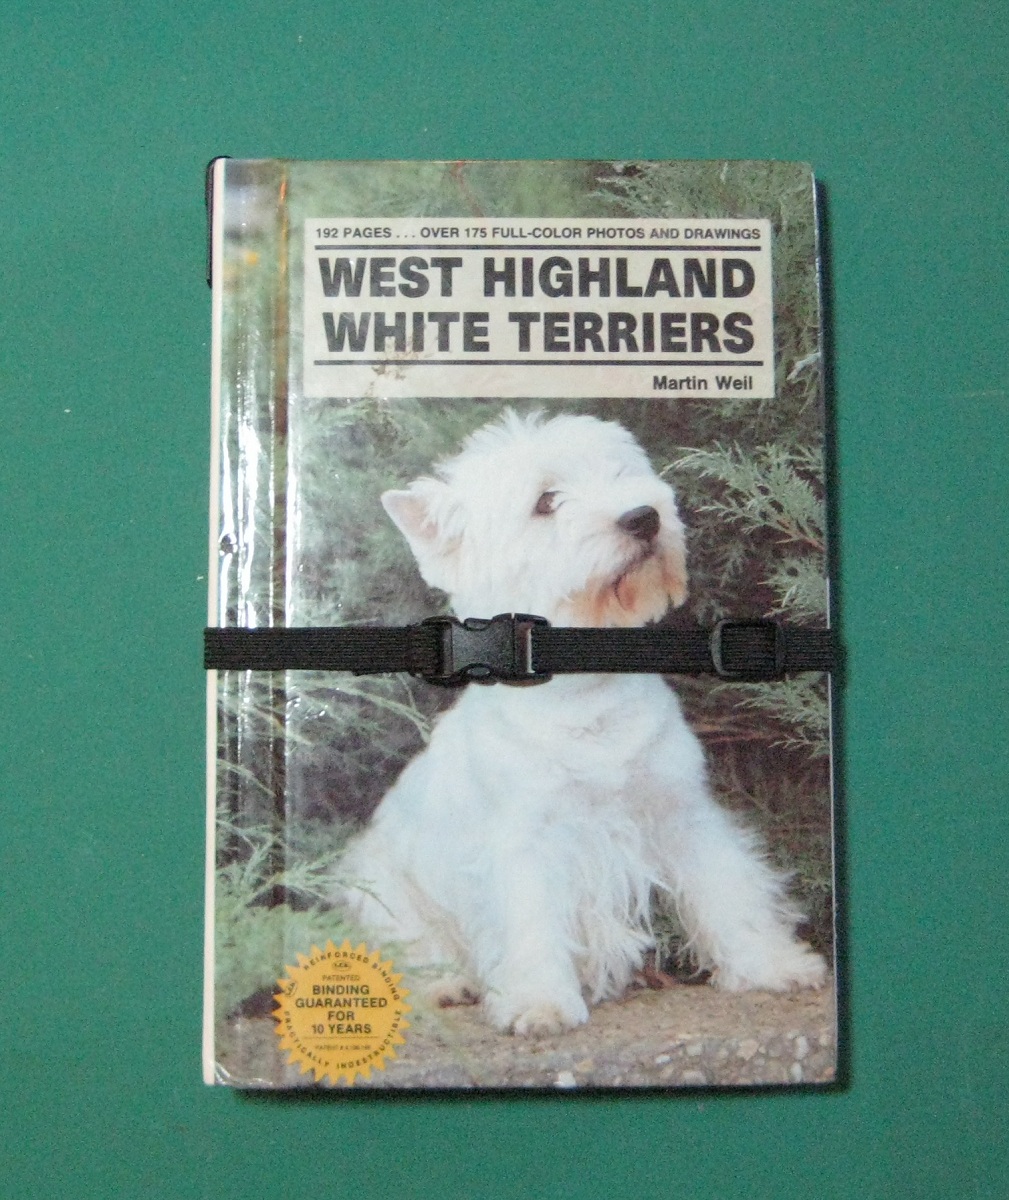
I went to a used bookstore and picked up this dog book. I like these kinds of books, the cover is hard and slick and will stay clean and won't pick up pet hair. I pulled out a fat quarter of some fun camping fabric that I won't mind looking at for an hour or two every day and assembled the rest of my "ingredients", which are very few and simple.
Scissors, rotary cutter, pinking shears, Exacto blade or razor blade, thread, 1/4" or 3/8" black elastic, a clasp (or velcro), white glue (Tacky or Elmers) and something heavy for weight.
When you pick out a book, make sure it's big enough to accommodate your reader. It needs to be a little bigger than the reader and also thick enough. Skinny little books might be too thin.
This book is plenty thick enough!
Remove the pages by cutting thru the tape that holds it in. Don't cut through the actual front or back of the book!
Cut gently.
Cut both sides, remove the pages and then trim up what's left so it's tidy.
Before trimming, below-
After trimming, below-
Measure to find how wide and long to cut the piece of fabric that will reinforce this naked area and cover up all those raw edges. 3" x 8" is enough for this book.
Pink the top and bottom edges.
You will need a piece of fabric that is wide enough to hold your e-reader and cover that back cover of the book. Then add 1/2" to that for seam allowances. Measure the inside length of the book and double that and add an inch or two so you'll have extra fabric to fiddle with. Now you know how big a piece of fabric to cut. And cut a piece for the
inside cover on the left.
My pieces are about 5" x 8", 3" x 8" and 5.5" x 18" (but 19" would have been easier if I had had enough fabric.)
Brush on white glue and glue down the middle piece. Get it nice and flat and into all the creases so it won't pull up later when you're bending your book a lot.
You can brush on more glue on the edges to ensure that they stay down. If you do this to the pinked edges, be aware that they will dry a little rough and crunchy.
For the pocket panel, with right sides together and the fold at the bottom, sew up each side using a 1/4" seam. Leave the top open. Turn and press.
Because my panel was a little short and because the bottom of the pocket panel is left loose, I decided to add this extra piece here so I wouldn't have to look at raw book later. It's applied just like the center piece, I brushed on white glue with my old sprung brush.
Fold up about 1/2" - 3/4" at the bottom to make the pocket that will hold your e-reader. The fold is the top of the pocket. Try it on for size. Once you're comfortable with your pocket, pin it in place.
See the pocket?
Move the pins and try it on again. If your panel is a lot wider, adjust where you will stitch in order to make the pocket tight enough but not too tight.
Now it's time to add a piece of elastic to hold the top of the e-reader in place. This will keep it from slipping out of the pocket when you're holding it or carrying it around.
Place the elastic where you want it and pin it. Then sew one side with the elastic wrapped around to the back to hide the raw edge. Sew from the folded pocket up to the top, thru both layers of elastic. On the other side, just baste the pocket into place.
Then put the e-reader back in and pull the elastic across. Find where you want it and mark it. Then determine how tight you want the elastic. I like it to hold it, but I don't want it stretched really tight because then it's hard to keep the fabric glued down into the book. Snug is all you should need, but you do it the way you feel best. Then sew the other edge just like you did the first edge.
Try it in the book for size, then fold down the excess raw edged material at the open top, to the back. Press. Sew a large X thru both thicknesses and reinforce your pocket and elastic stitching, too. Also sew across the top to hold that excess to the back. Trim it off if necessary. (I didn't edge stitch the top too closely because I wanted a little room to slide an opened paperclip into that space.)
Now you can glue this panel into place. Apply white glue to the book and be sure to get a good amount down, especially where the elastic is. BUT! Don't glue the pocket down. It needs to stay free so the e-reader can slide in and out easily, for charging, downloading, etc. Because this part is loose and you can see under there, that is why I added that other piece of fabric, I wanted to cover that part of the book up. It finishes it off nicely, no raw book showing.
I put a piece of cardboard down over the panel (except for that bottom inch or so where the pocket is) and weighted it down with birdseed and rocks. (That was exciting, the bag holding the rocks broke right then and 400 little shiny pebbles went everywhere, CRAP!) I also glued down the fabric inside the left cover.
I left that to dry overnight. Now it's time to finish it up! Another piece of elastic for the closure and a breakaway cat collar buckle. You could make your strap from ribbon, fabric, velcro, a snap, whatever. I have these buckles that I use to make our
cats collars and they come in really handy. Click that link for more info on getting the same hardware.
I made the strap just like a collar - it's adjustable in case the elastic ever starts to get weak. I punched 2 small holes thru the back of the book with a small nail and a hammer and then sewed the elastic in place with just a couple of stitches. See the stitches just below the center of the X? It just needs to be strong enough so you don't lose the strap.
This is how it looks with the e-reader in place. My stylus rides inside on the spine and I have a bent paperclip in the top seam allowance that is my reset pin if ever I need it. My power button is inside the pocket at the very bottom edge but I can feel it and press it thru the fabric to turn it on and off.
And all closed up. Look, puppy has a big collar! :)
It's a really easy project- if you didn't have to wait for glue to dry, you could do this in 2 hours or less, I'm sure. And you'd have a nice hard cover for your e-reader, one that the cats can walk across and not cause you to flip out. I hope that this tute was helpful. Have fun at the used bookstores, finding just the right book for your e-reader!


